Imagine standing beneath a stained, sagging ceiling, wondering how to tackle the ceiling water damage without emptying your wallet. You’re not alone in facing this common issue, and there are effective, budget-friendly strategies to repair it. From selecting the right materials to harnessing your DIY skills, you can make those repairs without breaking the bank. Let’s explore how you can restore your ceiling while keeping costs low and your confidence high.
Key Takeaways
- Identify and fix leaks promptly to prevent further water damage to the ceiling.
- Use affordable materials like drywall or ceiling tiles for repairs.
- Apply textured paint to cover imperfections economically.
- Use DIY techniques and tools to reduce labor costs.
- Search for discounts or leftover stock online to save on materials.
How to Spot Ceiling Damage Before You Start Repairs?
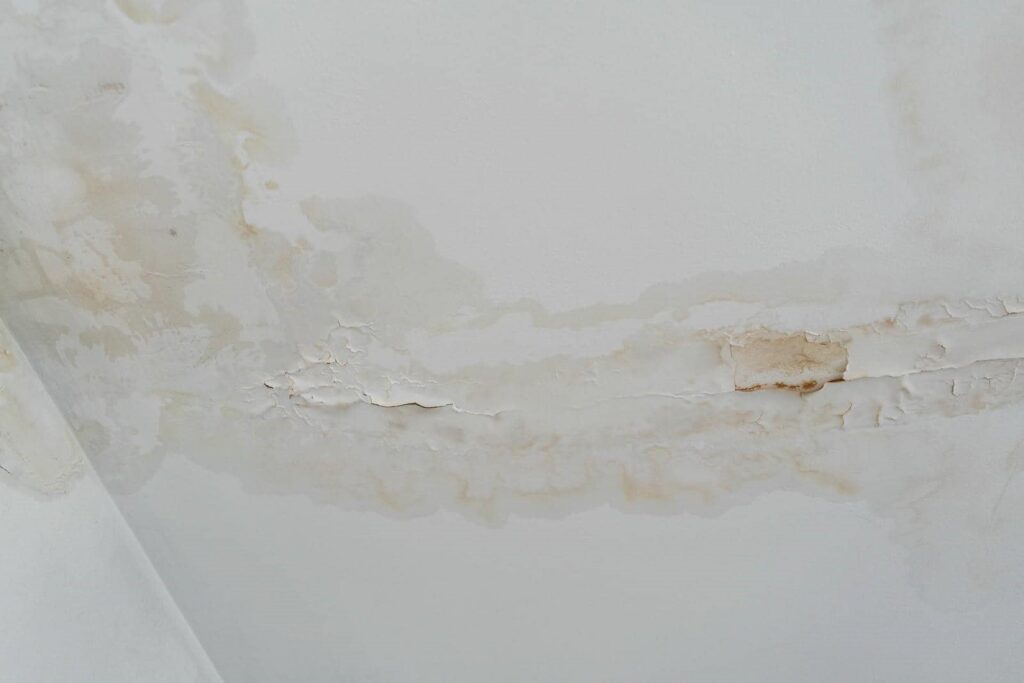
Have you ever wondered how to identify ceiling damage before diving into repairs? Start by checking for water stains; these often indicate a leak.
Look closely at the ceiling’s surface for discoloration or dark spots, which can signal potential mold growth. If you spot sagging ceilings, it’s a clear sign of moisture issues that need immediate attention.
Don’t forget to perform leak detection in areas above the ceiling, like bathrooms or kitchens. Inspect plumbing lines and roofs for any obvious leaks.
Select Affordable Ceiling Repair Materials
Selecting the right materials for ceiling repair doesn’t have to break the bank. Start by looking for affordable materials like drywall or ceiling tiles, which offer durability without emptying your wallet.
Instead of opting for high-end finishes, consider quality alternatives that can achieve a similar look at a fraction of the cost. For instance, textured paint can mask imperfections while being easy on your budget.
Don’t forget to check local hardware stores or online marketplaces for discounts and sales; you might find great deals on leftover stock.
Implement DIY Repair Tips for Cost Savings
Tackling ceiling repairs yourself can save you a significant amount of money while giving you a sense of accomplishment.
Plus, it’s a great way to bond with your space and make it feel like home. Here are three DIY tips to help you get started:
Water Leak Detection: Identify the source of any leaks before starting repairs. Use a moisture meter for accurate results.
Gather Repair Tools: Equip yourself with essential tools like a putty knife, paint roller, and primer. Having the right tools makes the job smoother.
Patch and Paint: Apply a patch for small holes and finish with paint that matches your ceiling. A fresh coat can make all the difference!
With these steps, you’ll feel proud of your handiwork and keep costs low!
Frequently Asked Questions
How Can I Prevent Future Water Damage to My Ceiling?
To prevent future water damage, use waterproofing techniques on vulnerable areas and conduct regular maintenance checks. By staying proactive, you’ll protect your ceiling and create a safe, welcoming space for everyone.
What Signs Indicate Mold Growth After Water Damage?
You’ll notice signs like a musty odor, discoloration, or visible spots. Use mold identification techniques to inspect thoroughly. Remember, unchecked mold poses serious health risks, so act quickly to protect your space and well-being.
Are There Any Insurance Options for Ceiling Water Damage?
Yes, you’ve got insurance options for ceiling water damage. Check your policy for coverage details, and familiarize yourself with the claim process. It’s essential to document the damage for a smoother experience when filing.
How Long Does Ceiling Repair Typically Take?
Ceiling repair typically takes about one to three days. With effective DIY techniques, you can speed up the repair timeline, making you feel accomplished while restoring your space to its former glory.
Can I Hire a Professional for Budget-Friendly Rates?
Yes, you can hire affordable contractors for ceiling repair. Check local listings and compare quotes. While DIY solutions can save money, a professional’s expertise ensures quality work, giving you peace of mind and a job well done.
Conclusion
By keeping an eye out for early signs of damage and using budget-friendly materials, you can tackle ceiling repairs without overspending. Remember, a DIY approach not only saves money but also empowers you with new skills. You’ll find that tackling these projects can be rewarding and enhance your home’s value. So, don’t shy away from getting your hands dirty—enjoy the process, and you’ll be amazed at what you can achieve!