
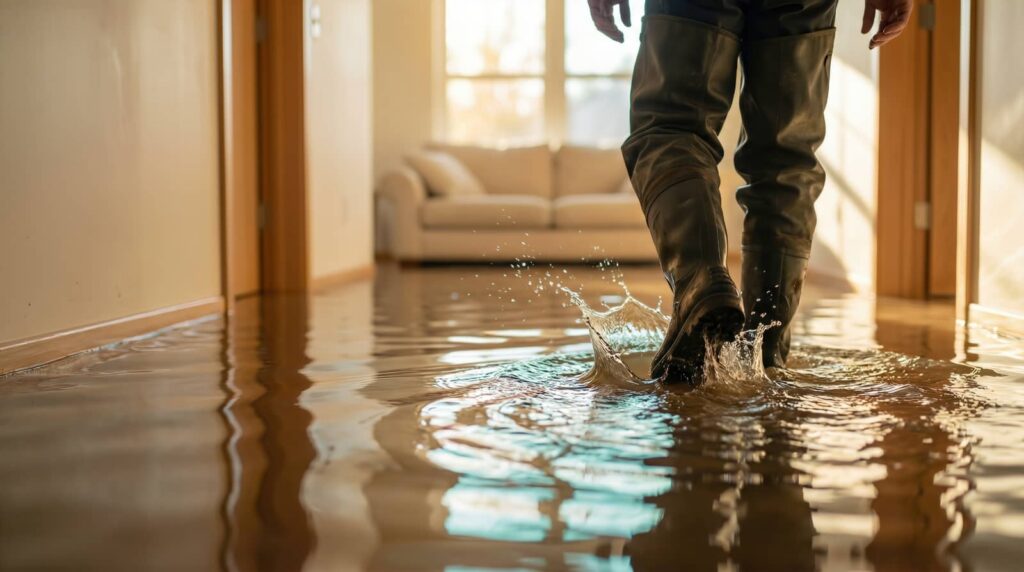
When you spot water damage, you need to act fast or the problem can spread behind walls and ceilings. You’ll want to stop the leak, dry the area, and check for hidden mold before you repair any materials. The right sequence matters because one missed step can turn a simple fix into a bigger job. Here are five practical tips that can help you handle it the right way.
Key Takeaways
- Stop the water source immediately and remove furniture, rugs, and electronics from the affected area.
- Dry the damaged area quickly with fans, dehumidifiers, and good ventilation.
- Check for mold, staining, soft spots, and hidden moisture in walls or ceilings.
- Remove and replace swollen, crumbled, or stained materials once everything is fully dry.
- Call a professional for large, recurring, or hidden damage involving plumbing, framing, or insulation.
Stop the Leak and Protect the Room
Before you do anything else, shut off the water source and stop the leak at its origin. Then move furniture, rugs, and electronics out of the affected area.
Check supply lines, valves, appliances, and visible joints for drip points, and use leak detection methods like paper towels or a moisture meter to confirm the source. If you can’t isolate it, call a plumber quickly.
Next, focus on room protection: place aluminum foil or plastic under furniture legs, lift items onto blocks, and seal nearby doorways to limit spread. Turn off power to wet circuits if needed.
Stay calm, work methodically, and document what you see. You’re handling the first critical step, and your space will be easier to restore from here.
Dry the Ceiling Water Damage Quickly
Dry the ceiling fast to prevent sagging, mold, and insulation damage. You should switch off power to the affected area, then open nearby windows and doors to improve ceiling ventilation.
Use fans to move air across the wet surface, not directly into it, and position a dehumidifier below the damage for steady moisture removal. If the ceiling is paintable, puncture a small drain hole at the lowest point only if water still pools behind it.
Remove wet insulation or loose material from accessible edges so trapped water can escape. Keep airflow running day and night until the surface feels dry and reads normal on a moisture meter.
Work methodically, and you’ll protect your home and keep your repair crew on the same page.
Check for Mold and Hidden Damage
Once the ceiling is dry, inspect it for mold, staining, soft spots, and any warped or sagging material. Use a flashlight and a moisture meter to check seams, corners, and areas near fixtures for hidden moisture.
Look for discoloration, musty odor, and fuzzy growth, which are common signs of mold identification. If the surface feels crumbly or cool to the touch, moisture may still be trapped behind the finish.
You should also check insulation, framing edges, and attic access points if you can reach them safely. Keep the room ventilated while you work, and photograph every suspect area so you can compare changes later.
If damage spreads or the source stays wet, you’re not alone—call a qualified pro before the problem grows.
Repair Water-Damaged Ceiling Materials
Start by cutting out any ceiling material that’s swollen, crumbled, stained, or softened by moisture. You’ll expose sound framing and stop damaged sections from spreading.
Let the area dry fully, then inspect the joists and fasteners for rust or looseness. Replace removed ceiling materials with matching drywall or plasterboard, cutting clean edges for tight seams.
Use backer strips where needed, then secure the patch with screws or appropriate fasteners. Apply joint tape and a setting-type compound in thin coats, sanding between passes.
These repair techniques help you restore a flat, stable surface that blends with the rest of the room.
Prime the patched area before repainting so the finish bonds evenly and you can feel confident your ceiling’s back in shape.
Call a Ceiling Water Damage Pro
If the damage covers a large area, keeps returning, or involves sagging drywall, a ceiling water damage pro can inspect the structure and pinpoint the leak source fast.
You’ll get moisture mapping, thermal imaging, and a repair plan that targets framing, insulation, and finishes before hidden mold spreads.
This is the time to bring in trusted restoration services, because they can stabilize the ceiling, dry the cavity, and document findings for insurance claims.
You stay safer when you avoid cutting into wet material without support.
A pro will also check plumbing, roof penetrations, and HVAC lines so you don’t miss the real cause.
When you act early, you protect your home, your crew, and your next steps.
Frequently Asked Questions
How Do I Know if Water Damage Is Covered by Insurance?
Check your insurance policy; it states whether water damage from sudden, accidental events is covered. You’ll usually need to prove the source, document losses, and report the claim quickly to qualify for payment.
What Personal Items Can Be Salvaged After Ceiling Water Damage?
You can often salvage hard, nonporous items, sealed furniture, and sentimental items if you dry them fast. You’ll need furniture restoration for wood and upholstery, but discard soaked paper, insulation, and moldy textiles.
How Long Should I Wait Before Repainting a Repaired Ceiling?
You should wait 24–72 hours, and longer if moisture lingers. A dry ceiling is your ticket back in. Complete ceiling preparation, then test for cool spots; only repaint when paint drying is fully complete.
Can I Stay in My Home During Major Water Damage Repairs?
You can sometimes stay, but major repairs often demand temporary housing. Follow safety precautions: shut off utilities, avoid contaminated areas, ensure ventilation, and listen to your contractor. If hazards remain, you shouldn’t stay home.
What Tools Are Best for Finding Hidden Moisture in Walls?
You’ll find hidden wall moisture best with moisture meters and thermal imaging. Use pin or pinless meters to verify damp spots, and scan with thermal imaging to spot cooler areas before opening walls.
Summary
When you stop the leak fast, you protect your room from turning into a damp ruin. Dry the ceiling quickly, and you’ll keep moisture from settling into the joists like a hidden stain. Check for mold and unseen damage, then replace damaged materials with care. If the repair feels too large, call a pro. With prompt action, you’ll restore a dry, solid ceiling and keep future water damage from spreading.