When water finds its way into your space, it can create an unwelcome environment that may lead to mold growth. To prevent this from happening, you need to act quickly and efficiently. Start by evaluating the extent of the water damage and removing any standing water. Then, focus on drying the area thoroughly. Understanding the subsequent steps is essential to ensuring your home remains mold-free and safe.
Key Takeaways
- Immediately dry affected areas using wet/dry vacuums, fans, and dehumidifiers to reduce moisture levels and prevent mold growth.
- Clean surfaces with warm water and detergent, focusing on high-touch areas, and use EPA-approved disinfectants to kill mold spores.
- Replace any porous materials like carpets and drywall that may retain moisture and harbor mold.
- Regularly monitor humidity levels with a hygrometer, keeping levels below 60% to inhibit mold growth.
- Conduct routine inspections for leaks and moisture in high-risk areas to proactively prevent future mold issues.
Assessing the Extent of Water Damage
When you discover water damage, it’s essential to assess the extent before taking action. Start by identifying the water sources—whether it’s a leaky roof, burst pipe, or flooding. Each source presents unique challenges that impact your damage assessment.
Next, inspect affected areas, looking for visible signs like discoloration, warping, or mold growth. Use a moisture meter to measure moisture levels in walls and floors, which helps determine how far the damage has spread.
Check hidden spaces, such as behind cabinets and under carpets, as water may linger there undetected. Document your findings with photos and notes, as this information will be crucial for repairs and insurance claims.
The more thorough your damage assessment, the better prepared you’ll be to tackle the situation effectively and prevent further issues. By taking these steps, you’re not just addressing immediate concerns; you’re fostering a safe environment for yourself and your loved ones.
Immediate Steps for Water Removal
To effectively remove water after a damage incident, start by gathering the right equipment, including a wet/dry vacuum, fans, dehumidifiers, and absorbent materials like towels or mops.
Your first step is to perform water extraction using the wet/dry vacuum, targeting areas with standing water. Move systematically, ensuring you cover all affected surfaces. Once you’ve removed the bulk of the water, place towels in areas where moisture lingers, replacing them as they become saturated.
Next, set up fans to increase air circulation, which aids in evaporating residual moisture. Position dehumidifiers strategically to draw out moisture from the air, helping to create moisture barriers that prevent further water damage.
Keep an eye on the humidity levels, aiming for a balanced environment. By following these immediate steps, you lay the groundwork for effective mold prevention and a healthier space.
Drying and Dehumidifying the Affected Area
As you tackle the drying and dehumidifying process, it’s vital to act swiftly and strategically to minimize mold growth.
Follow these steps to ensure effective drying:
Set the Dehumidifier: Adjust your dehumidifier settings to the ideal level, typically between 30-60% humidity, to effectively draw moisture from the air.
Enhance Air Circulation: Use fans to promote air circulation throughout the affected area. Position them to create a cross-draft that aids in evaporating moisture.
Seal Off Areas: Close doors and windows to prevent outside humidity from entering while maintaining airflow inside.
Monitor Progress: Regularly check humidity levels with a hygrometer to track your progress and ensure a rapid drying process.
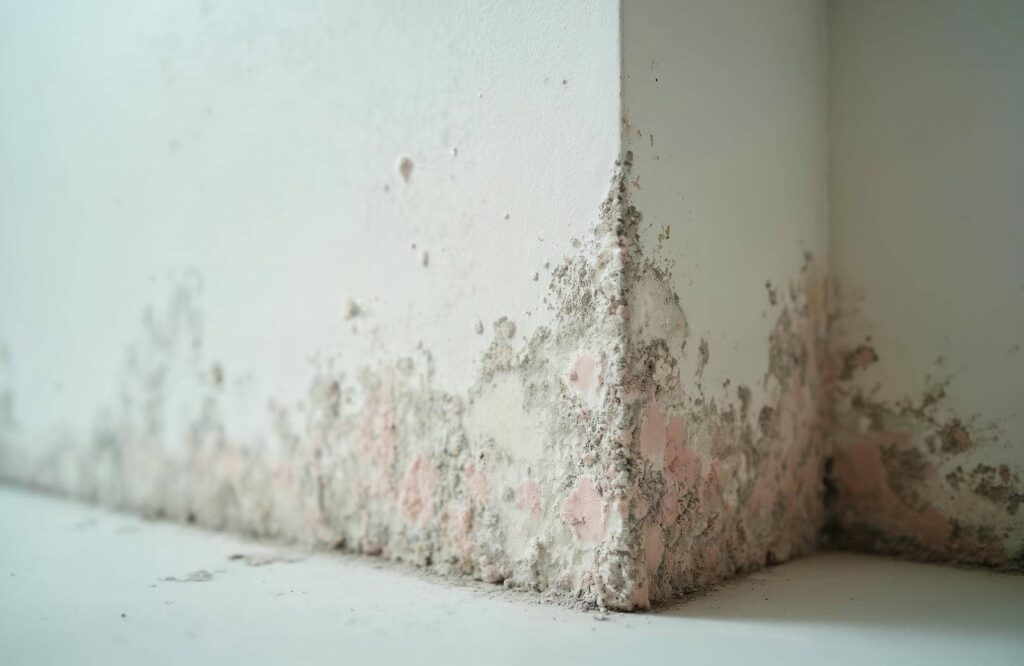
Cleaning and Disinfecting Surfaces
Cleaning and disinfecting surfaces after water damage is essential to prevent mold and bacterial growth. Start by using effective cleaning techniques such as scrubbing surfaces with a mixture of warm water and mild detergent. Focus on high-touch areas like doorknobs and countertops, ensuring you remove all visible residues.
For porous materials, consider replacing them, as they can harbor mold spores even after cleaning.
Next, apply suitable disinfecting solutions. Look for EPA-approved products specifically designed to kill mold and bacteria. Follow the manufacturer’s instructions for dilution and application, ensuring the area remains wet for the recommended dwell time.
Remember to wear protective gear, including gloves and masks, to safeguard yourself while cleaning.
Once you’ve cleaned and disinfected, allow surfaces to dry completely to minimize moisture retention. This meticulous approach fosters a healthier environment for you and your loved ones, helping you feel secure in your home.
Monitoring for Future Mold Growth
After thoroughly cleaning and disinfecting surfaces, keeping an eye out for future mold growth becomes essential.
Adopting a proactive approach aids mold prevention and fosters a healthier environment. Here are some steps for effective monitoring:
Conduct Routine Inspections: Schedule regular checks in areas prone to moisture, such as basements and bathrooms.
Check for Water Leaks: Look for signs of leaks in pipes, roofs, and windows that could create a breeding ground for mold.
Monitor Humidity Levels: Use a hygrometer to ensure indoor humidity stays below 60%, as high moisture promotes mold growth.
Inspect HVAC Systems: Regularly examine air conditioning and heating systems for signs of mold and ensure proper ventilation.
Frequently Asked Questions
How Long Does It Take for Mold to Grow After Water Damage?
Mold growth can start within 24 to 48 hours after water damage, depending on various factors like humidity, temperature, and surface materials. Understanding this mold growth timeline helps you act swiftly to prevent extensive damage.
Can I Use Bleach to Kill Mold Effectively?
Using bleach for mold removal isn’t always effective; it can hide mold roots. Consider bleach alternatives like vinegar or hydrogen peroxide, which penetrate better. Focus on thorough drying and ventilation for long-lasting mold prevention.
What Are Health Risks Associated With Mold Exposure?
Mold exposure can trigger mold allergies and respiratory issues, causing symptoms like sneezing, coughing, and wheezing. You should take precautions to minimize exposure, especially if you’re sensitive or have pre-existing respiratory conditions.
Should I Hire a Professional or DIY Mold Removal?
You should weigh the cost comparison between DIY methods and hiring a professional. While DIY can save money, professionals ensure thorough removal, preventing future issues. Assess your skills and the extent of mold before deciding.
How Can I Prevent Mold in My Home Long-Term?
To prevent mold long-term, maintain humidity control below 60%, ensure proper ventilation, and conduct regular inspections for leaks or dampness. Promptly address any issues to create a safe, comfortable environment in your home.
Recap
In the battle against mold after water damage, your swift action is your secret weapon! By immediately removing water, drying thoroughly, and disinfecting like a pro, you can thwart mold’s relentless advance. Keep your humidity levels in check and inspect regularly to ensure this pesky invader doesn’t stage a comeback. With vigilance and a methodical approach, you’ll transform your space from a mold-ridden disaster into a fortress of cleanliness. Don’t wait—act decisively, and reclaim your home!