
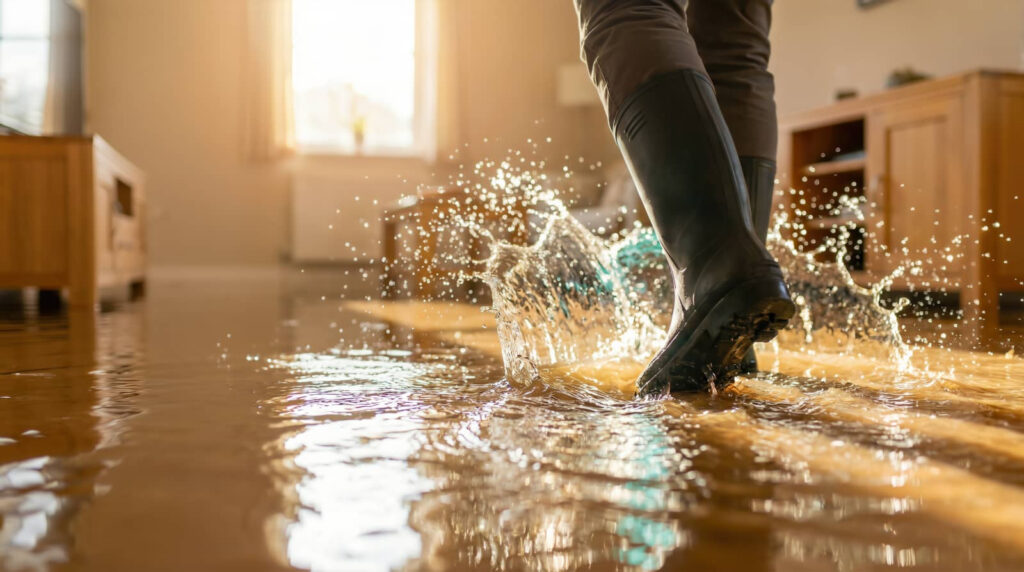
Before you start flooded house cleanup, you need to make the space safe and document what happened. You’ll shut off power and gas, put on protective gear, and photograph every damaged area for insurance records. Then you can remove standing water and begin drying the structure before mold sets in. The order matters, and a few missed steps can create bigger problems than the flood itself.
Key Takeaways
- Shut off electricity and gas if safe, wear protective gear, and inspect for structural damage before entering.
- Photograph all damaged rooms and belongings with notes and backups before starting cleanup.
- Remove standing water using pumps or a wet vacuum, and clear debris from drains and entry paths.
- Dry the house thoroughly with fans, dehumidifiers, open cavities, and moisture monitoring.
- Clean, disinfect, and sort items into keep, clean, or discard groups, then document losses for insurance.
Start Flooded House Cleanup Safely
Before you begin flooded house cleanup, make sure the area is safe to enter: shut off electricity and gas if you can do so without stepping into standing water, wear protective gear such as waterproof boots, gloves, and an N95 respirator, and check for structural damage, contaminated water, and hidden hazards like sharp debris or exposed wiring.
Keep a calm, methodical pace and follow essential safety precautions before you move anything. If you smell gas, hear hissing, or see sagging ceilings, leave at once and call emergency contacts from a dry location.
You’re not handling this alone; trusted helpers can support you while you assess the space. Ventilate only when conditions allow, and avoid touching wet outlets, appliances, or insulation.
Clear entry paths carefully so you can work safely and confidently.
Photograph Flood Damage Before Cleaning
Next, photograph every affected room and item before you move or clean anything. Use your phone or camera to capture wide shots first, then close-ups of damaged walls, floors, furniture, outlets, and personal belongings.
Turn on the flash if the room is dim, and include a date stamp if possible. Keep each image clear, steady, and well lit so your insurance claims show the full extent of the loss.
Take notes beside each photo set to identify rooms and contents. If you’ve called restoration services, share these images so they can plan the right response.
Save copies in the cloud and on another device, because backups help protect your record. When you document everything carefully, you stay organized, supported, and ready for the next step.
Remove Standing Water From the House
Start removing standing water as soon as it’s safe to enter the house. You’re not alone; steady, methodical action protects your space and helps you regain control. Choose water extraction methods that match the volume and depth of water, then work from the lowest point outward.
Shut off electricity if you haven’t already.
Use a wet vacuum for small pools.
Try a utility pump for deeper water.
Compare sump pump options if water keeps returning.
Empty containers outside and clear debris from drains.
Move slowly and check for hidden pockets of water under furniture or in low corners. Keep hoses directed to a safe discharge area. If the water is contaminated, wear gloves and boots.
Your careful pace now makes the rest of cleanup smoother.
Dry Out Walls, Floors, and Ceilings
You’ll need to open wall cavities, remove wet insulation, and set up air movement so hidden moisture can escape.
Check floors and ceilings for trapped water, then use dehumidifiers and targeted drying to bring each material back to safe moisture levels.
Keep monitoring with a moisture meter, and don’t close anything up until readings stay stable and dry.
Drying Wall Cavities
Once the standing water is gone, begin drying the wall cavities, floors, and ceilings right away to prevent hidden moisture from causing mold, swelling, or structural damage.
You can protect your space by opening access points, then moving air through each cavity with fans and dehumidifiers. Remove wet wall insulation if it holds water, and check that cavity ventilation stays clear so moisture can escape.
- Cut inspection openings where needed
- Aim airflow into wall cavities
- Run dehumidifiers continuously
- Replace saturated wall insulation
- Monitor dryness with a moisture meter
Stay organized and work room by room. If you keep conditions warm, moving, and dry, you’ll help your home recover safely.
You’ve got this, and each careful step brings your place back to normal.
Moisture In Floors And Ceilings
With the wall cavities drying, turn your attention to any moisture trapped in floors and ceilings before it spreads or weakens building materials.
Use moisture detection tools to check subfloors, joists, ceiling drywall, and insulation, especially near seams and penetrations. If you find damp carpet, padding, or sagging drywall, remove it promptly so air can move through the assembly.
Set dehumidifiers and air movers to create steady crossflow, and keep the thermostat moderate for faster evaporation.
Inspect periodically for warping, staining, or soft spots that could signal hidden damage. You’re not doing this alone; each careful step protects structural integrity and helps your home return to a safe, familiar place.
Keep records, and continue until materials read dry.
Clean and Disinfect to Prevent Mold
After standing water is removed and surfaces are mostly dry, clean every affected area with soap and water, then disinfect hard surfaces to reduce the risk of mold growth.
You’ll protect your home and your crew by working methodically and keeping airflow moving. Focus on mold prevention by scrubbing away dirt, then applying approved disinfecting surfaces products exactly as labeled.
Wear gloves and a mask, and change rags often so you don’t spread contamination.
- Start at the top and work down
- Rinse before disinfecting surfaces
- Keep the area ventilated
- Let treated surfaces stay wet for the required time
- Recheck corners, seams, and baseboards
If you stay consistent, you’re building a safer recovery space for everyone.
Save Salvageable Items and Toss the Rest
Next, sort your belongings into three groups: keep, clean, and discard. Use item assessment to judge each piece by material, saturation, and contamination level.
Hard plastics, metal tools, and sealed containers often respond well to salvage techniques, while warped wood, soaked drywall, pillows, and porous toys usually won’t.
Move keep items to a dry, ventilated area. For clean items, rinse off debris, then disinfect and dry them completely before storage.
Place discard items in sturdy bags or bins, seal them, and remove them from living areas promptly. Wear gloves and an N95 if you’re handling muddy debris.
Take your time; careful sorting protects your space, reduces stress, and helps your household recover together with confidence.
Finish Flood Cleanup and Repairs
Once you’ve cleared out salvageable items, finish the cleanup by washing hard surfaces with soap and water, then disinfecting all flood-affected areas according to the product label. You’re almost there, and careful steps now protect your home and health.
Remove remaining debris, open windows if weather allows, and run fans or dehumidifiers to dry rooms fully. Check walls, flooring, and insulation for hidden moisture. Document damage for flood insurance claims, then schedule restoration services if structural materials stayed wet.
- Scrub and rinse all washable surfaces
- Disinfect kitchens, baths, and utility rooms
- Dry cavities, trim, and subfloors
- Verify outlets, appliances, and HVAC are safe
- Replace damaged materials only after they’re dry
Keep a steady pace; your cleanup crew has this.
Frequently Asked Questions
Do I Need Permits Before Starting Flood Cleanup?
Usually, you don’t need permits for basic flood cleanup, but you should check local permit requirements and cleanup regulations before you start. You’ll protect your crew, fit in with neighbors, and avoid costly delays.
Will My Insurance Cover Temporary Housing After Flooding?
Yes, your insurance may cover temporary housing after flooding, like a lifeboat in rough water. You should review your policy, file insurance claims promptly, and ask your adjuster about ALE, limits, and documentation requirements.
How Soon Should I Call an Electrician After Flooding?
Call an electrician immediately after floodwater recedes and before you re-energize anything. You’ll protect electrical safety, limit flood damage, and keep your household secure. Don’t enter wet areas until a pro says it’s safe.
Can Flood-Damaged Food Be Safely Saved?
No, you shouldn’t save flood-damaged food; contamination risks make it unsafe. You should discard exposed items, especially perishable foods, and follow food safety guidance. You’re protecting your household by choosing caution and safe handling.
When Should I Hire a Professional Restoration Company?
You should hire a professional restoration company when water’s like a thief in the night: after major flooding, sewage, hidden moisture, structural damage, or mold risk. They’ll handle water extraction, mold remediation, and restore your home.
Wrap-Up
By now, you’ve done the hard part: you’ve made a flood look organized. With the power off, the water gone, and every surface dried, cleaned, and documented, your house is finally on the slow road back to normal. It’s ironic, really—your home may be wetter than it’s ever been, yet the safest next move is still careful drying. Keep inspecting, keep repairing, and you’ll turn this disaster into a controlled recovery.