
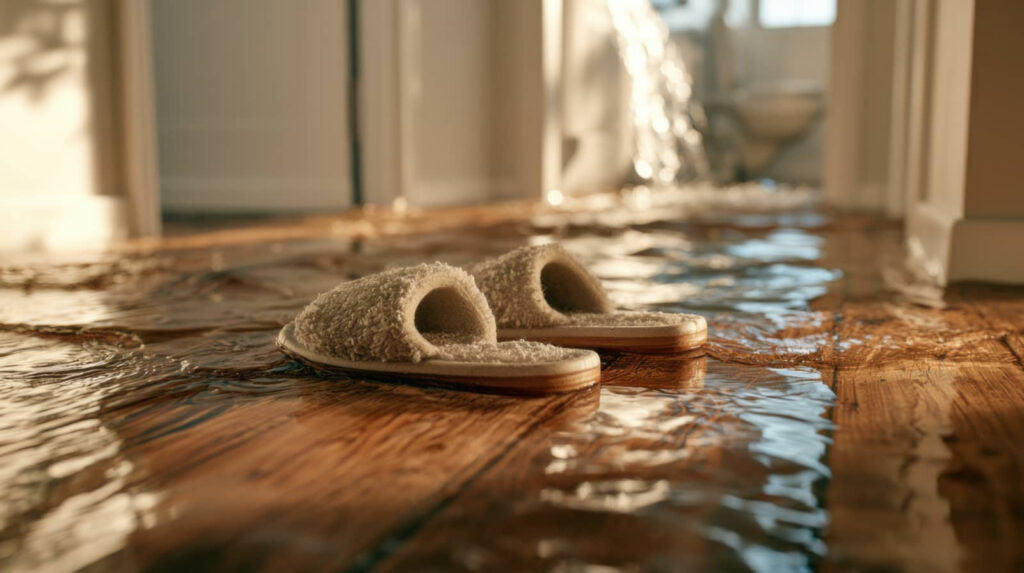
Home Water Damage Restoration starts with acting quickly and following the right steps. You should shut off the source, document every room for insurance, and remove standing water as fast as possible. Then dry surfaces, clean and disinfect affected areas, and check for mold or hidden structural damage. Final repairs only matter if the drying system tests confirm the home is safe and dry, and that’s where the real risks often start.
Key Takeaways
- Shut off the water and electricity, then identify and stop the leak source safely.
- Document all damage with photos, videos, and an inventory before any cleanup begins.
- Remove standing water quickly using pumps, vacuums, or buckets to limit further damage.
- Dry and clean all affected areas with fans, dehumidifiers, and safe disinfectants to prevent mold.
- Inspect for mold and structural damage, complete repairs, and verify the home is safe for occupancy.
Stop the Water and Stay Safe
First, shut off the main water supply to stop further flooding, then cut power to affected areas if water is near outlets, appliances, or the electrical panel.
Next, identify the water source so you can decide whether the leak came from a supply line, appliance, fixture, or exterior intrusion. If you can’t isolate it quickly, call a licensed plumber or utility provider for emergency response.
Keep your footing clear, wear waterproof boots, and avoid standing in contaminated water. Move family and pets to a dry area, and keep everyone together so you can act fast and stay calm.
If the leak continues, use towels or a wet vacuum only after you’ve made the area electrically safe. You’re not handling this alone; take each step methodically.
Take Photos for Your Insurance Claim
Before you move or clean anything, take clear photos and videos of the damage, the water source, and every affected room.
Capture wide shots, close-ups, and serial numbers on appliances, floors, walls, furniture, and personal items. Keep your images time-stamped if possible, and narrate a short video so your insurance documentation shows what you saw in real time.
Save files in one folder and back them up to the cloud or a drive. Write a simple inventory with room names, item descriptions, and visible damage levels.
This record supports the claim process and helps your adjuster verify losses faster. Stay organized and consistent; when you document carefully, you protect your home, your timeline, and your peace of mind.
Remove Standing Water Fast
Get the standing water out as quickly as you can to limit structural damage and mold growth. Use buckets, a wet/dry vacuum, or a submersible pump, depending on depth and access.
Shut off power to affected areas before you enter, and wear boots and gloves so you can work safely. If water is deep, contaminated, or still rising, call for professional emergency response right away.
Move furniture and loose items only if you can do it without spreading water. Start at the lowest point and guide water toward a drain or exterior exit.
These water removal techniques help you regain control fast, protect your home, and stay connected to the crew working with you. Keep checking hidden pockets of water under mats, in corners, and around baseboards.
Dry Walls, Floors, and Ceilings
Once the standing water is gone, dry walls, floors, and ceilings as fast as possible to slow mold growth and prevent further material breakdown. You should open windows, run fans, and use dehumidifiers to pull moisture from the air and hidden cavities.
Remove baseboards and lift carpet edges if needed so airflow reaches damp layers. Check for water absorption in drywall, wood trim, and ceiling materials; if they stay soft, swollen, or cool, keep applying drying techniques.
Aim airflow across surfaces, not straight at one spot, and rotate equipment to cover the whole room. You’re not alone in this; a steady, methodical approach helps your home recover safely.
Monitor progress daily, because trapped moisture can linger behind finishes even when surfaces look dry.
Clean and Disinfect Flooded Surfaces
You should remove all contaminated residue from flooded surfaces as soon as they’re dry enough to clean.
Use detergent and water first, then disinfect with a safe solution approved for the material and follow the label’s contact time.
Wear gloves and keep the area ventilated so you can clean effectively without exposing yourself to lingering contaminants.
Remove Contaminated Residue
After standing water is removed, clear away any contaminated residue from floors, walls, fixtures, and other affected surfaces. Then wash them with hot water and detergent to lift mud, silt, and organic debris.
During residue removal, work from the cleanest area toward the dirtiest so you don’t spread contamination sources back across restored spaces. Use stiff brushes, plastic scrapers, and disposable cloths to break loose buildup from seams, corners, and textured materials.
Rinse tools often and replace dirty water as it clouds. Check trim, baseboards, and hidden edges, because residue hides where moisture lingers.
Keep ventilation moving so surfaces dry faster and you can inspect your progress. When you stay methodical, you protect your home, support your team, and create a safer recovery path.
Disinfect With Safe Solutions
With the residue removed, disinfect flooded surfaces using a solution that’s approved for the material and contamination level. You’ll protect your space by following the label dilution, contact time, and rinse steps exactly.
Wear gloves and eye protection, and keep the area ventilated while you work. For wood, tile, and sealed surfaces, choose eco-friendly disinfectants that match the hazard level and won’t add harsh fumes.
Use safe cleaning methods: apply from the cleanest area outward, change cloths often, and avoid spreading moisture into seams or joints.
After disinfecting, let surfaces dry fully, then inspect for odor, staining, or tackiness. If contamination involved sewage or chemicals, repeat the process or call a restoration pro so your home feels secure again.
Check for Mold and Structural Damage
Inspect walls, floors, and hidden spaces for mold growth, including discoloration, musty odors, and damp patches.
Check for structural weakness by looking for warped materials, sagging ceilings, soft drywall, or compromised framing.
If you notice any of these signs, you’ll need to address the damage quickly to prevent further deterioration.
Mold Growth Signs
Mold can start growing within 24 to 48 hours after water exposure, so you’ll want to check affected areas quickly for musty odors, discoloration, and visible growth on walls, ceilings, baseboards, and insulation.
Look for fuzzy, slimy, or powdery patches in corners and behind furniture, and note any staining that spreads after drying.
If you spot mold, isolate the area, improve ventilation, and keep surfaces dry.
Track moisture with a hygrometer to support indoor humidity control, and use mold prevention tips like fixing leaks promptly and running dehumidifiers in damp rooms.
Wear gloves and an N95 when inspecting.
Don’t ignore minor spotting; early detection helps you protect your home and stay confident as you move through restoration.
Structural Weakness Checks
After checking for mold, assess the structure for damage that may weaken the home’s frame, finish materials, or support surfaces. You’ll protect structural integrity by using inspection methods that target hidden failures early.
Look for sagging floors, bowed walls, split trim, and soft subfloors. Press gently on drywall, joists, and baseboards to spot spongy areas. Check seams, fasteners, and beam connections for rust, movement, or separation. If you hear creaks or see shifting, stop and document it.
Members of your restoration team should compare affected rooms with dry areas to spot changes fast.
- Probe wood for softness
- Inspect attic framing
- Measure wall plumb
- Review crawlspace supports
- Photograph every defect
Complete Final Water Damage Repairs
Once the structure is dry and stable, complete the final water damage repairs by replacing damaged drywall, insulation, flooring, trim, and any compromised fixtures.
Match materials to the original build so your home feels whole again. Seal seams, fasten panels correctly, and paint after surfaces cure.
If you need temporary repairs, install them only to keep rooms usable and protected until permanent work is ready.
For hidden damage, call professional services to verify wiring, plumbing, and mold-prone cavities before closing walls.
Refit baseboards, door casings, and cabinets, then test doors, outlets, and vents for proper operation.
Keep documenting each step, because clear records help you stay organized and supported through the finish.
Your space should be safe, functional, and ready for normal life.
Frequently Asked Questions
How Do I Know if the Water Is Contaminated?
You can’t tell by sight alone; use water testing to identify contamination sources like sewage, storm runoff, or chemicals. If it smells foul, looks cloudy, or follows flooding, you should treat it as contaminated.
Can I Salvage Furniture After a Water Leak?
Yes, you can often salvage furniture after a water leak if you act fast. You should do a furniture assessment, remove moisture, and apply drying techniques. If it’s swollen, moldy, or contaminated, replace it.
Should I Call My Insurance Before Cleanup Starts?
Yes, call your insurer first; your insurance policy may require prompt notice. You’ll protect coverage, document the damage assessment, and get claim guidance before cleanup starts. Then you can act quickly, confidently, and with your crew.
How Long Does Water Damage Restoration Usually Take?
You’ll usually need 3–5 days for minor water damage; roughly 14,000 people face water disasters daily. Your restoration timeline depends on drying methods, material removal, and hidden moisture. Expect faster results with prompt action.
Do I Need a Professional for Minor Ceiling Stains?
Yes, you may handle minor ceiling stains yourself if they’re dry and stable, but you should call a professional if you see sagging, cracking, or recurring moisture. Proper ceiling repair and stain removal prevent hidden damage.
Final Thoughts
You’ve done the hard work, yet water damage still loves to act like it never happened. If you shut off the source, document everything, remove moisture fast, dry thoroughly, disinfect, and check for mold or structural issues, you give your home the best shot at recovery. Finish the repairs, test every system, and don’t rush back too soon. Ironically, the smallest leaks can cause the biggest problems, so treat every drop like it matters.